
Having just arrived back from a client engagement, I was in the pub with some colleagues earlier this evening, and one amongst them, a junior asked a really interesting question “How does one assess an embedded device?”.
To qualify this, the subject of the project on which I had been engaged was such a device. I won’t go into the details of the devices concerned, because whilst device itself was rather interesting, particularly with embedded devices, the discussion of internals fills those that pay the bills with trepidation. Rather, in this post, I’ll seek to outline a generic methodology which one can utilise for assessing such devices and achieving successful outcomes. Doubtless, in future posts, I’ll discuss some of the findings I’ve made over the last year or so with regards to a number of devices for whom there is no paying client but where I assessed the devices concerned out of personal curiosity.
The attack surface
In assessing an embedded device, the first thing you’ll need to consider is the attack surface that has been presented to you. Typically, there are going to be three elements to this (albeit with some overlap). Firstly, there will be the physical attack surface. What I mean by that is that embedded devices are usually the sum of their parts and that sometimes those parts may in themselves pose a risk. Consider for example an arbitrary network device. From an external perspective, it will likely have a number of ports exposed, typically for network connectivity, however at some stage it will have been developed and it is likely that those responsible will have needed additional access. To understand the attack surface you’ll need to figure out how to dismantle your chosen device and (sometimes) how to bypass physical traps that have been left to limit this. Once inside your chosen device, you’ll likely find a gamut of other ports of interest. For example, on small embedded GNU/Linux devices you may find pads for UART etc whilst on larger (sometimes) Windows devices, you might find a spare PCI slot or connections for a monitor. Having opened the device, you’ll also have expose the storage medium, be that compact flash or maybe a hard disk. Don’t be quick to dismiss any potential port, someone found a UART port hidden in the headphone jack. You might also want to examine the chip-set markings as these may yield clues as to how the device can be accessed. Having looked at the physical attack surface, next you need to consider how the device will be presented on the network (assuming that it is). A first step here will be to plug the device in and passively monitor the traffic it generates in an un-configured state. Some devices will simply probe for DHCP, but some may go looking for TFTP servers or even attempt to phone home. Once you have captured a number of packets, you should consider performing a minimal port scan (such as nmap’s TCP Syn and UDP scans). The reason I suggest performing a minimal scan is to avoid any unnecessary modification of the device state. This will highlight what services it offers which will give you further avenues of attack. On more advanced devices, you may need to factor in wireless communications such as bluetooth, infrared, NFC or wi-fi communications. In one particular case, I found a mobile phone still beaconing for the factory wi-fi AP in China. In that instance, it was complete with pass-phrase, perfect for free Internet if I ever visit China. Finally, you’ll need to examine the intended access mechanism (typically a web application). At minimum, this will usually present features for configuring your device but depending on what the device is meant to achieve it may allow a whole lot more. Performing the second and third phases of establishing the attack surface are iterative, TCP and UDP ports may be opened and closed, and more offer more, or less features depending on the features you enable. So, here comes a question, “are you still sniffing?” You should be, as you access the device in a legitimate fashion, you will exercise the protocols that it utilises. Examining the packets and getting a feel for how the protocols they utilise function will give you further avenues of attack, perhaps with the aid of Google. From here, you’re into classic penetration testing territory.
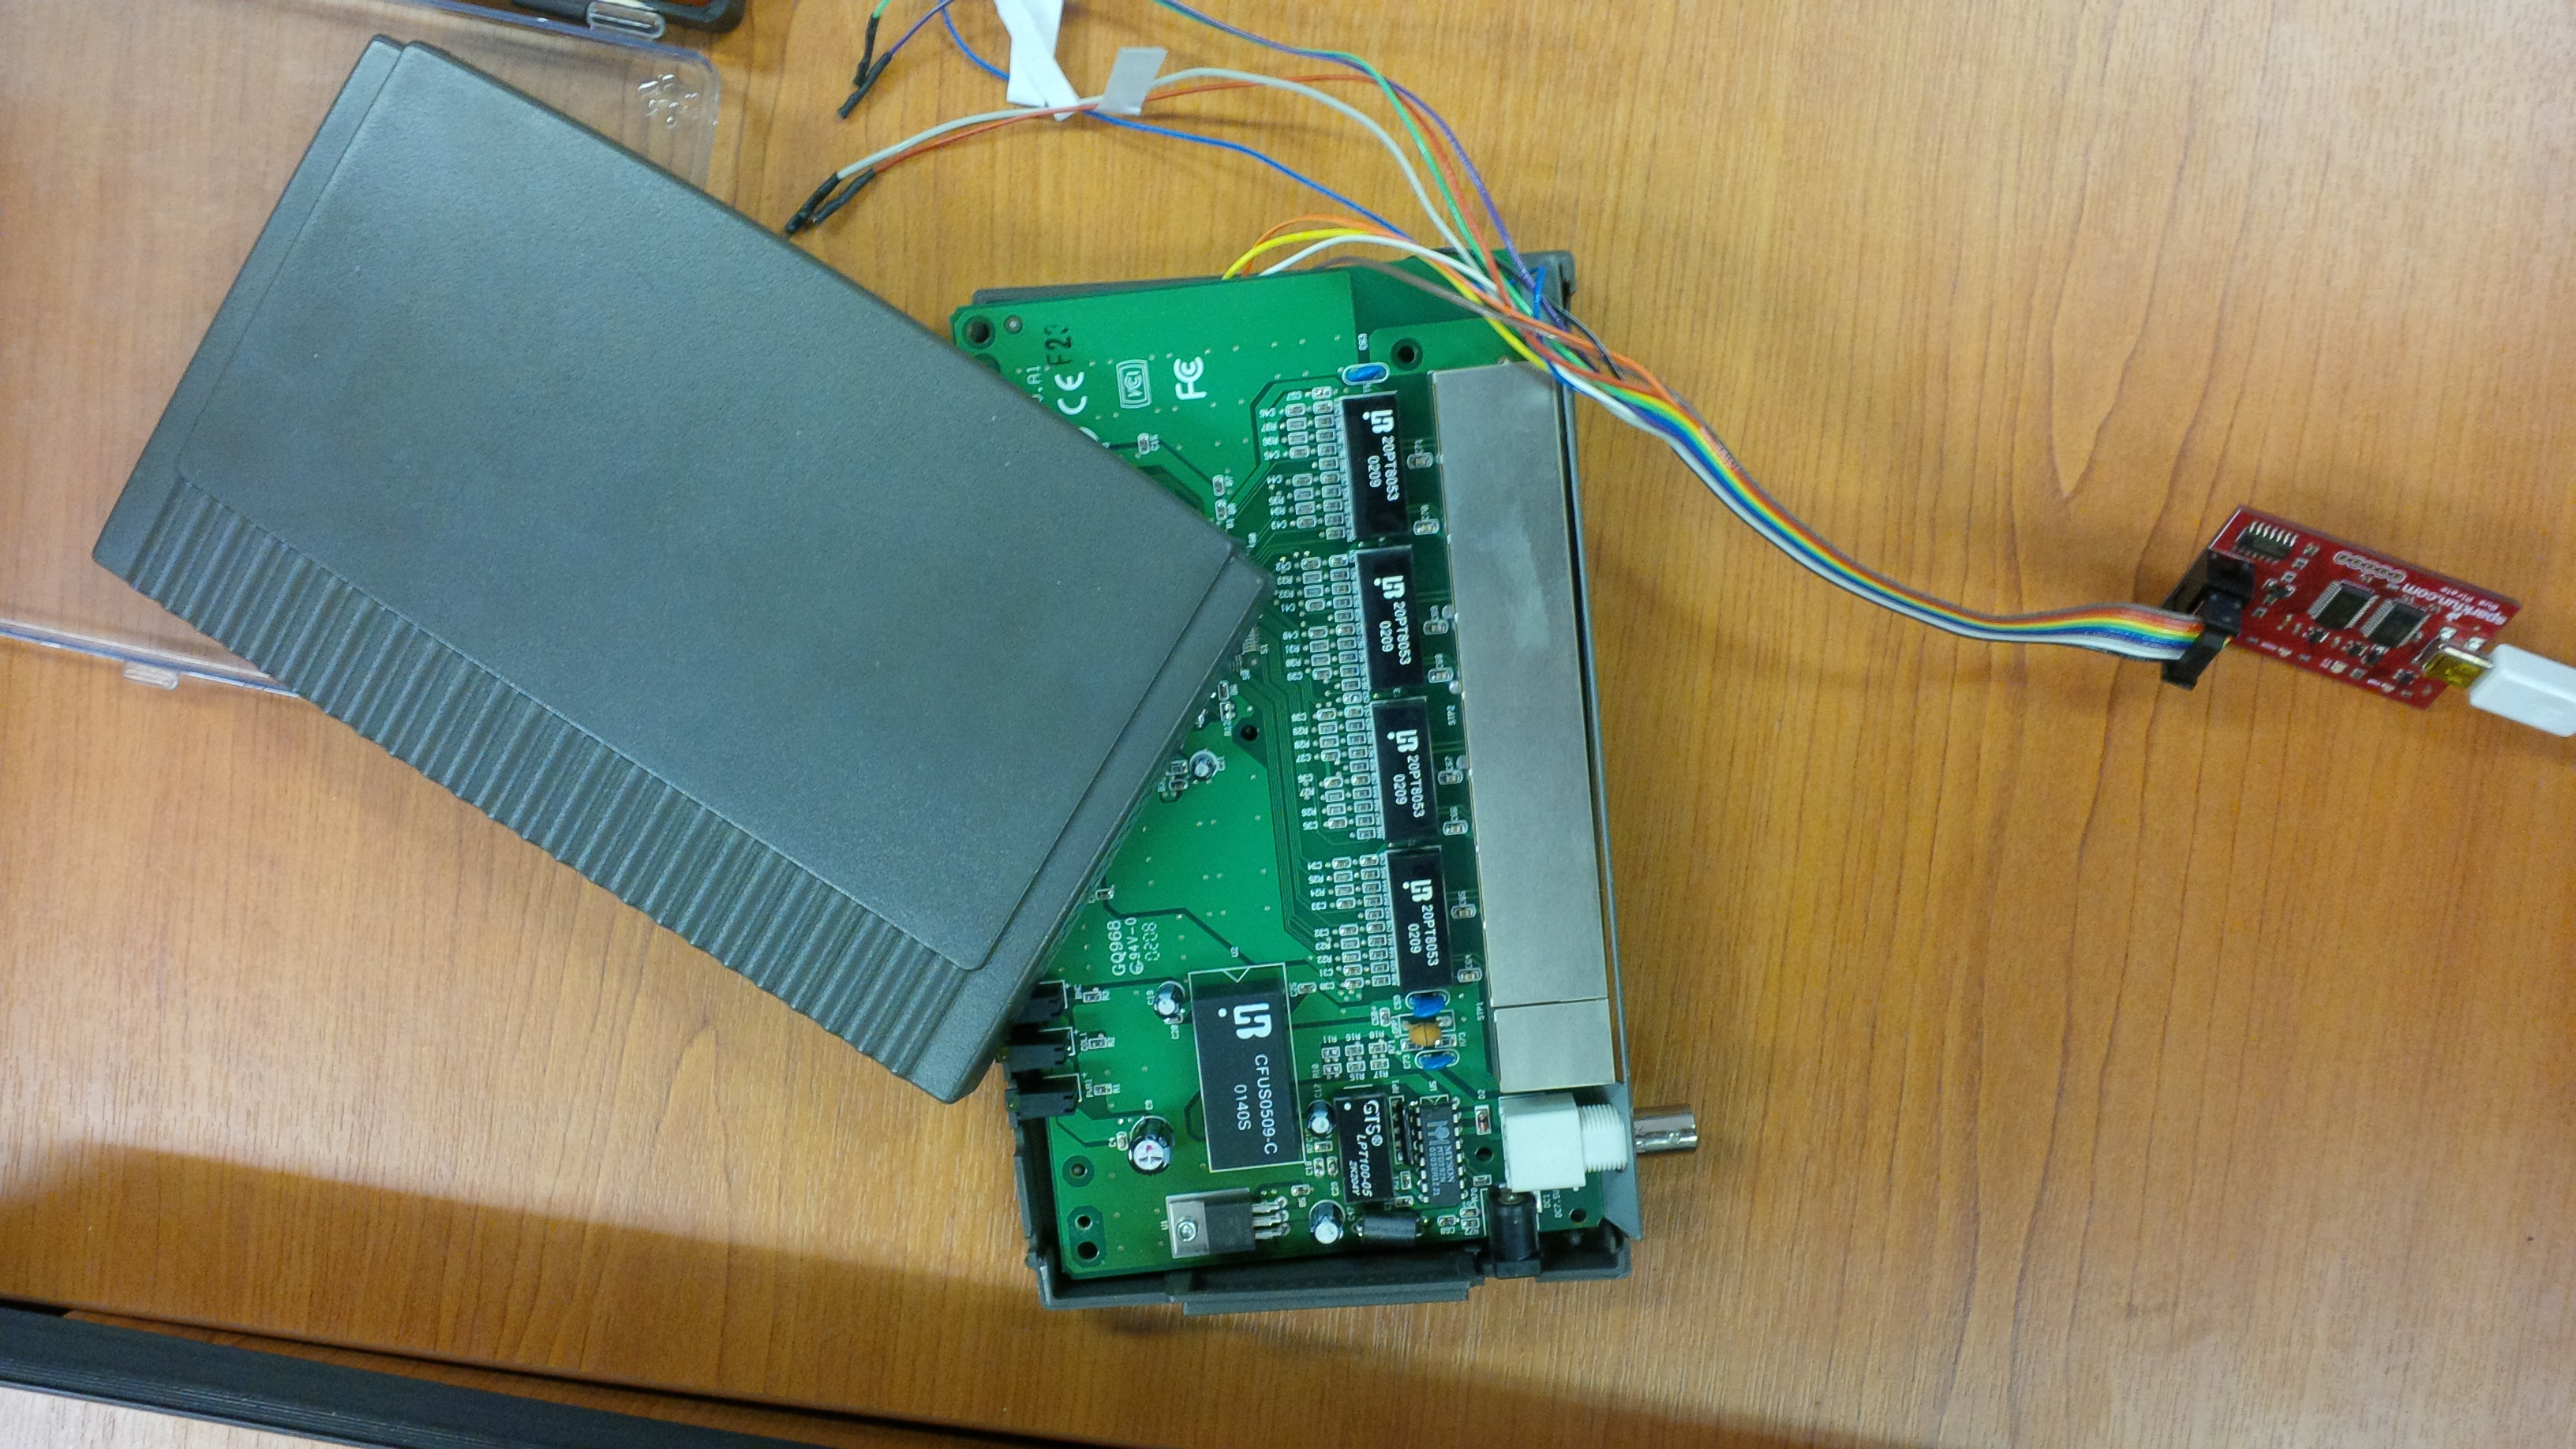
A Bus Pirate connected to an embedded device
Comparative testing
One of the advantages that we have as commercial security testers is that we’re often working on behalf of the vendor and can therefore perform comparative testing. Whilst if you’re testing a device that you’ve acquired as a consumer, you’re left with just the attack surface that the developers missed, when we test commercially, we can often test on both the end user configuration but more importantly the developer configuration. The developer configuration is critical since vendors rarely want to see expensive poof of concept hardware bricked by an over enthusiastic security architect. What we will typically do in such instances, is test the developer configuration first to establish potential weaknesses before moving on to the device they intend to ship. This will likely require the use of tools such as unix-privesc-check as well as gdb and on occasions, the IDA Pro disassembler. Sometimes, this leads to blind alleys but it can prove invaluable. As an example, on one such assessment, we were able to establish that the DHCP client we’d seen probing for an IP address was actually affected by a known vulnerability. Whilst an exploit had been published, this targeted a different CPU architecture. Having developer access proved invaluable to one of our Team porting the exploit from the Intel x86 architecture where it had been discovered to the ARM based device we were assessing at the time. In the process, we identified that the ASLR in use on the device wasn’t truely random, enabling us to effectively bypass it. In another case, we were able to examine CGI binaries utilised by the web server to provide a management interface and identify some memory corruption vulnerabilities which ended up with us getting root. As a final example, the developer supplied virtual machine was found to share key material with all production systems, tricky to exploit without privileged access in the first instance, but a nice attack should you bypass the initial restriction.
Firmware
Up until now, I’ve steered clear of talking about firmware, but on occasions this can also be a potential line of attack. I’ve used the analysis of firmware technique very successfully when analysing a number of blackbox network devices. In cases such as this, vendors often make virtual machines available to potential customers to allow them to evaluate a piece of software before they buy it. By compromising the virtual disk (typically by rewriting a configuration file), it is possible to gain access to them, once powered on, in a state that is atypical. As an example, I used this technique to gain root access to an emulated instance of PlayBook OS from BlackBerry, by modifying inetd to give me a root shell. Once we have secured access, we can examine the internals of the blackbox utilising similar techniques to those we use for comparative testing. Sometimes however, the firmware isn’t in a known format. Here, we use tools such as BinWalk to extract the underlying binaries for analysis under the IDA Pro disassembler.
Focusing in on the goal
So, having looked at some of the ways we test embedded device, a word of warning. In the commercial space, it pays to appreciate the threat models that your client is actually concerned with. Perhaps they consider the physical controls that exist outside of the remit of the device itself to be the main barrier to a physical attack, perhaps they figure that any hobbyist who gains access to the device deserves the joy of a root prompt. Whilst I haven’t previously mentioned it, I would strongly recommend that if you’re considering offering a commercial service in this space that you discuss with the client, their concerns, before you begin the assessment. Ideally, a threat model should be built first with the monetary costs of each scenario highlighted. Consider the case of an ATM, you hardly want someone driving a JCB through the elegant, reverse engineered vulnerability you’ve just identified on the management network.
Conclusions
Owning and indeed pwning embedded devices is fun. Some of the challenges are the same as for a conventional penetration tester, but the developers can be less savvy and you’ll expose yourself to other classes of vulnerability. Ensure that you understand the threat models and always, always carry a Bus Pirate.